Share
You've spent hours making a great how-to, day-in-the-life, or instructional video. Now, it's time to perfect it with a compelling voiceover.
You don't need voiceover training or a fancy studio to produce high-quality audio and make your video sound great. With the proper planning, tools, and know-how, anyone can record a polished voiceover at home. Read on to learn how to do a voiceover from start to finish.
What Is a Voiceover?
A voiceover is when you overlay or replace a video’s audio with new narration, explaining what’s happening without being visible in the actual content. During voiceover creation, you record and add your voice — or an AI voice — onto existing visual or audio content to make it more informative and engaging.
You’ll find voiceover narration in informational videos, vlog content, and even tutorial videos that explain what’s happening on-screen. This commentary improves clarity and adds emphasis, providing more context or explanation. It’s like having a tour guide walk you through the video.
How to Do a Voiceover: 5 Best Practices
Planning everything beforehand — including how you’ll record and what you’ll say — makes the voiceover recording process easier. Having high-quality audio clips saves you time while editing because you won’t have to reduce background noise or fix audio mistakes.
Here are five tips to follow for the best voiceovers possible:
1. Plan Your Location
You don’t need a padded studio with sound-absorbing walls. However, you do need a quiet room where you can record without interruption. Avoid places with environmental noise, ambient sounds, or other people’s voices so the only thing the audience hears is you.
Try to ensure the room you’re in doesn’t have an echo. A simple hack to create a noise-proof space is putting thick blankets on the walls to absorb outside sounds.
2. Select the Right Equipment
Your phone or laptop's built-in mic isn't the best choice for voiceovers because it’ll usually produce a muffled sound. Consider using a budget-friendly external microphone with a pop filter, which reduces distracting sounds.
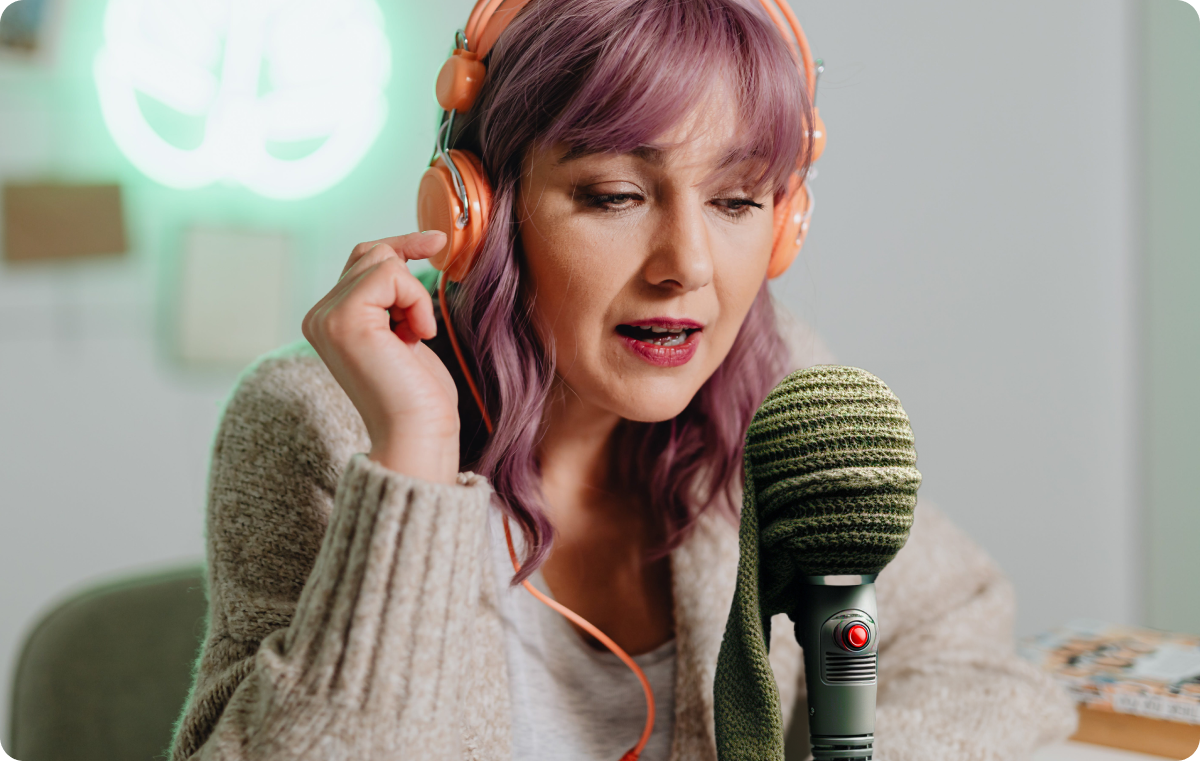
If you’d rather not buy a new mic, a good hack is also to record with your phone’s microphone and add a sock over it to soften your voice. You could also use headphones that have a built-in microphone, which are usually higher quality than your computer's microphone.
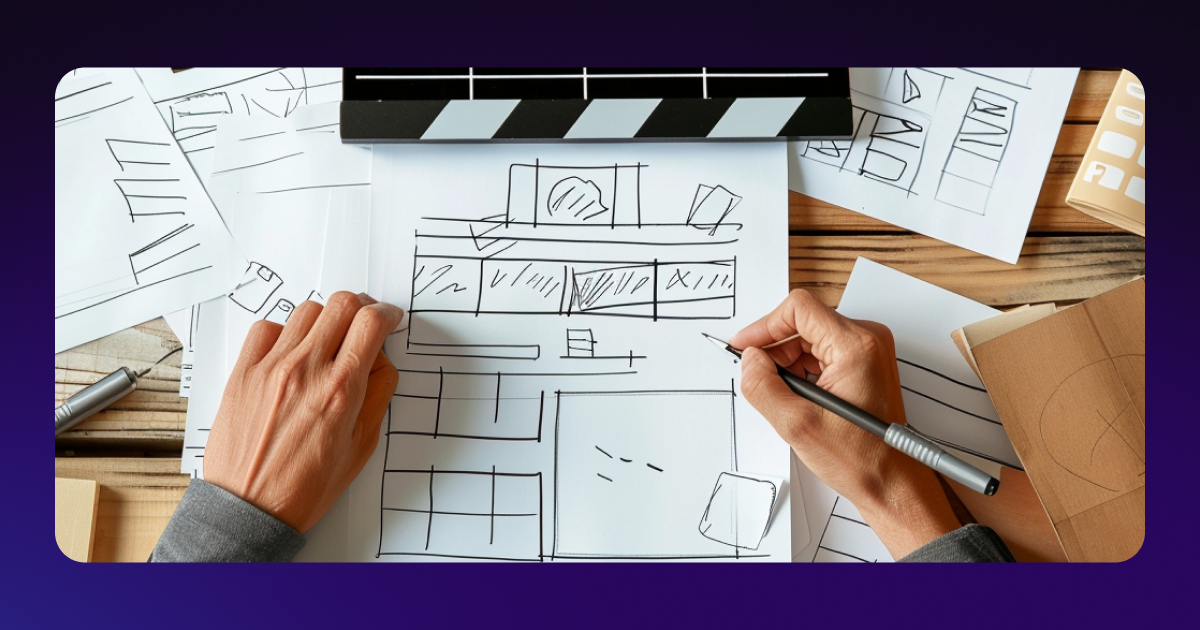
3. Prepare Your Script
Avoid awkward spaces between words by preparing a script. This allows you to maintain a consistent tone, pacing, and style throughout the recording, and it’ll lead to fewer edits down the line.
Write a script that includes everything you intend to say, and read it out aloud before you start recording to practice. That way, you can tweak and perfect your script before you hit record.
4. Do a Test Recording
A test recording is an opportunity to check audio levels and equipment. You don't need to narrate your entire script during the test, but reading the first few seconds is enough. Listen back to ensure everything is running smoothly and your audio levels are right.
Consider doing a few takes with your microphone in different positions to find the best sound. If it’s too close to your face, it could pick up breathing and other unwanted sounds. If it’s too far away, the recording might not be clear. Experiment with the distance to see what works best for both your voice’s volume and your microphone.
When listening to your test recording, it's a good idea to use headphones to check the audio quality. Headphones are better quality than phone or computer speakers, helping you detect muffled audio, feedback, and noises.
5. Record Your Voiceover
Once you’ve done your prep work, it’s time to record. Here’s what you need to do when recording:
- Focus on pronunciation and speak in a steady tone.
- Try to sound natural, even if you’re reading from a script. A monotonous voice can be boring for listeners.
- If you make a small mistake, don’t start over. You can fix mistakes during editing with tools like Captions AI Trim, which cuts out pauses and filler words for you.
- Pause your recording and restart if large parts of the script aren’t quite right. You don’t want to end up with an hour of useless audio while you try to figure it out.
6. Edit Your Audio
Once your recording is complete, edit, clean up, and trim your video so the visuals and voiceover match.
Use a tool like Captions to speed up editing and create a clean result that looks and sounds professional. With Captions, you can automatically trim filler words and pauses, remove background noise, and correct mistakes quickly. You can also use Captions’ AI Voiceover to do the work for you. All you have to do is input your text and choose an AI voice you like.
How to Add Voiceover to Video in 5 Steps
When you have both a video and a voiceover script ready to go, follow this step-by-step plan to merge them:
1. Use an Audio Recording App
Use special voiceover software rather than the default recording app on your phone for the best results. Your voice notes app lacks the sound quality monitoring and audio editing features you need. Some social media platforms, like the TikTok app, have their own native voiceover features, but there are third-party apps out there, too.
2. Edit the Voiceover
Now, either edit your voiceover within the app you’ve used for recording or export your recording to an audio editing app. This lets you edit out mistakes and merge multiple recordings into one.
At this point, leaving some silence at the start and end of your video is okay. It allows space to fine-tune the timing when you sync your voiceover with the video clips later. Your main focus at this point is fixing any errors, cutting out the awkward silences, and ensuring your voiceover is around the same length as your video.
3. Export the Audio File
Once you clean up the recording, export it as an audio file. The format of your files determines how your computer or phone will encode, compress, and store them.
Common voiceover audio formats include WAV, MP3, and AIFF. WAV and AIFF are high-quality but uncompressed, consuming more storage. MP3 files are compressed, which means they save space, but offer lower quality.
4. Import the Voiceover Into the Video Editing Software
Most video editing software has a media import option so you can import your audio file and attach it to your video. Depending on the software you choose, navigate to the "File" or "Import" menu. Then, browse your files to find the voiceover audio you want to use and select “Import” or “Open.”
5. Sync the Voiceover to the Video
Once you've uploaded the audio file, you can see how it lines up with your video. The voiceover audio may not sync perfectly at first. If it's not lining up, return to your audio editing software, do more trimming, and then export the audio file again.
To save yourself some time before going back to your audio editing software, make a note of the timestamps where the voiceover needs trimming. Then, make the necessary adjustments until it aligns perfectly.
How to Make Your Voiceover Sound Professional: 3 Additional Tips
Now that you’ve got the basics down, you can perfect your technique. Here are a few voiceover tips that can help:
1. Improve Your Voiceover Skills
You don’t need formal voice training to improve your voiceover skills. Here’s what you should focus on:
- Get ample sleep before recording — Tired voices can be croaky and rough.
- Warm up your voice — Before you record your voiceover, warm up with some gentle humming.
- Maintain good posture — Your head’s position affects how your voice sounds, so sit upright with your head centered for the best sound.
- Have a warm drink — Drink plenty of water before recording, and have a warm drink next to you to sip on if your throat gets dry.
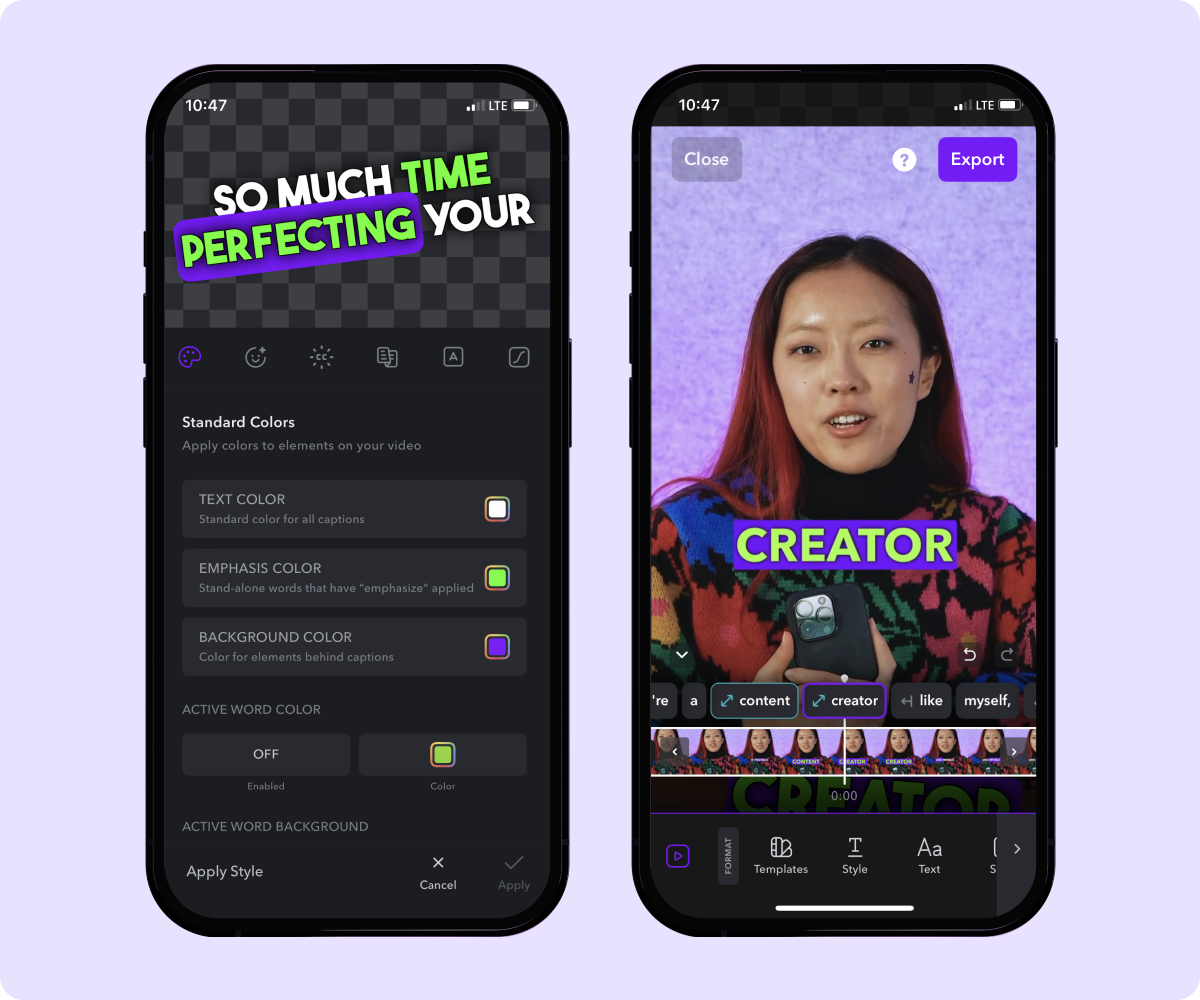
2. Add Captions
Remember to add subtitles and captions to your video so all viewers can appreciate what you have to say — including hearing-impaired viewers and those watching without sound. Add subtitles to your voiceover videos in one click with Captions: a creator studio that helps you through the entire content creation process.
Here’s how to add automatic captions to your videos:
- Open the Captions app.
- Tap the purple “Create” button at the bottom of the screen.
- Import the video you want to add captions to.
- Select your language, then tap “Proceed.”
- Wait for the system to transcribe your voice.
- Customize the size, font, and colors of your captions, and add extra effects like highlighted words and censoring.
- Export to your camera roll to upload anywhere.
3. Try an AI Voiceover
If you aren’t quite comfortable in front of the microphone, there’s a simple solution — an AI voice generator.
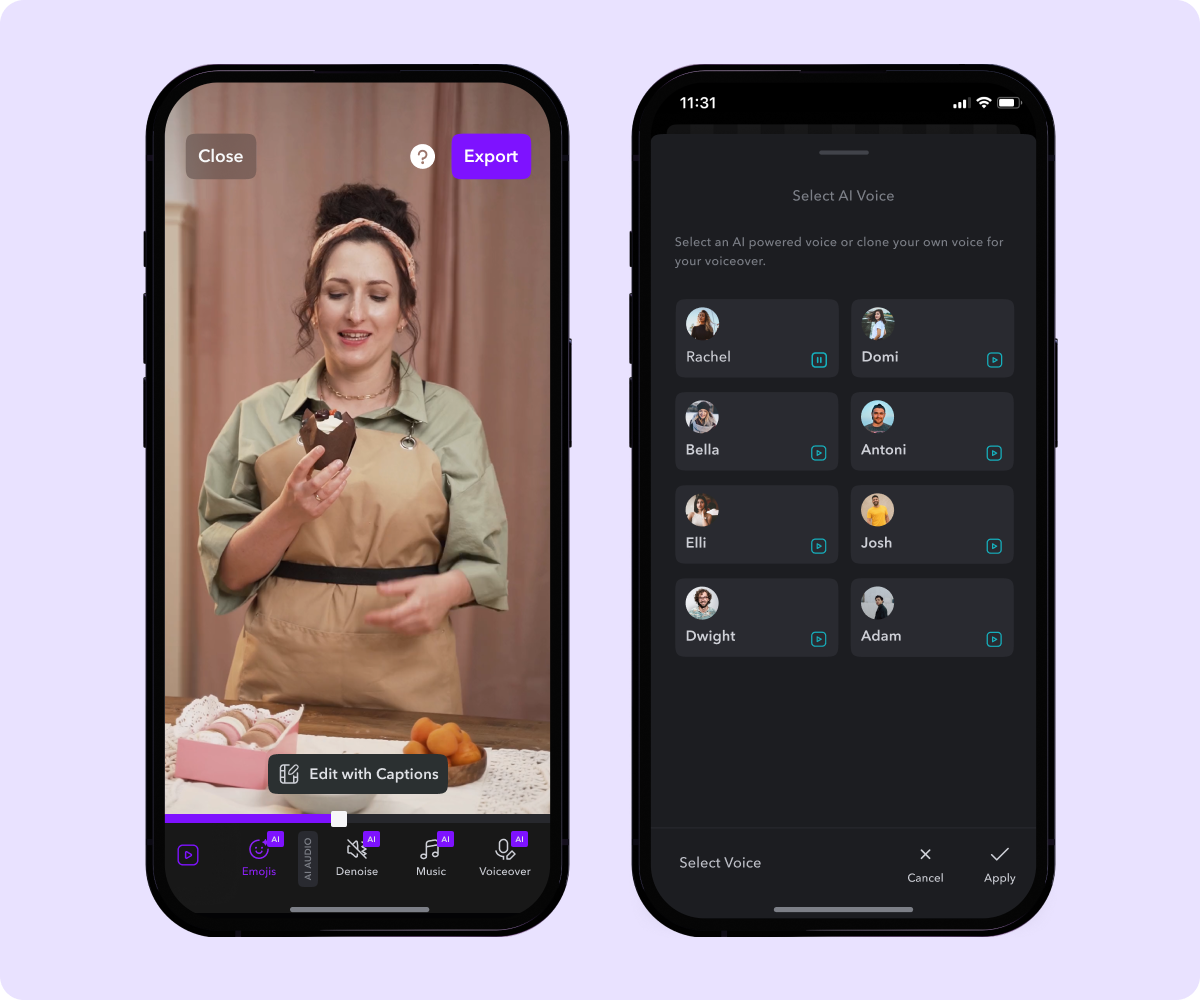
Use Captions to add an AI voiceover to your videos, automatically reading your lines for you so you don’t have to worry about recording audio at all. Here’s how to do it:
- Import the video you want to use.
- In the bottom menu, scroll to the right. Then, tap “Voiceover.”
- Tap “Add,” choose which voice you want to use, and then type or paste the text you want the AI to say.
- Tap the purple “Generate AI Voice” button. Then tap “Redo” if you want to adjust it or “Apply” to copy it to your project.
- Adjust the placement of your voiceover as needed.
To reach an even wider audience, translate your captions or voiceover into other languages. Lipdub lets you dub your recording in any language you choose, increasing your reach internationally.
Master Your Voiceover for Videos With Captions
Whether you’re creating videos for TikTok, YouTube, or elsewhere, voiceovers can help improve your content’s overall quality and audience appeal.
If you aren’t comfortable hearing your own voice on video or just want an efficient solution for at-home recording, try Captions’ AI Voiceover feature. When your video’s ready to edit, you can also use Captions to add subtitles, correct eye contact, and include fun emojis and images for a professional result.
By
December 22, 2023
-
8
Min Read
Stay in the loop
Subscribe to our newsletter and get all the news from Captions. No spam, we promise.
Oops! Something went wrong while submitting the form.
Professional videos made easy