Share
Every video tells a story.
Great content can move stories along to convey different ideas in a compelling way, not just through dialogue, but also with visual video editing techniques. One example is done through what happens during the transition from clip to clip — also known as cuts.
Using the right cuts can help you create a smoother video, boosting the production value and the emotional tone. Here’s a guide to the most popular types of cuts in editing and why using them in your videos makes a difference.
What Are Cuts in Video Editing?
In video production, a cut refers to the moment when one clip ends and another begins. The term gets its name from when producers had to literally cut and paste pieces of film together. Now, you can do this work digitally, but this editing term has stayed the same.
Cuts don’t have to be fancy. Some just jump from clip to clip without any video transitions — like cutting from a close-up of your face to a wide angle of your bedroom. However, there are different cutting styles for when you want to add some flair. You could fade from clip to clip, play with the relationship between audio and video, or cut strategically to show parallels between different clips. Each one can make your video seem more cinematic or add a different tone.
5 Popular Types of Cuts To Use in Your Videos
Here are several popular editing techniques, how to use them, and how they affect your video:
1. Standard Cut
A standard cut, or a hard cut, is the natural result of splicing two clips together. There is no transition effect (like a fade-out) between clips. One simply stops, and another begins.
Standard cuts can be abrupt — even confusing — for an audience if you don’t use them correctly. You have to make sure there’s a clear relationship between the first clip and the second. If you cut from a clip of you eating in a restaurant to another of you taking a hike, viewers might not understand the bigger story. However, if you use a clip of you eating at a restaurant, then leaving and driving to the hike, and then one on the trail, the audience can follow the video despite the hard cuts.
2. Jump Cut
A jump cut is similar to a standard cut because it has no editing effect. The difference is that with a jump cut, each break moves forward in time in the same scene. For example, a baker might show an apple on a cutting board in the first clip. In the next clip, the apple is in the same place, but perfectly sliced. This small leap forward in time cuts out unnecessary information, like a long recording of the baker slicing. When done right, it looks effortless.
Jump cuts are great for creative videos that reveal a final product, like cooking, makeup, and visual arts. You show viewers your process while keeping it visually interesting. Jump cuts are also excellent for comedy content — cutting quickly to an unexpectedly funny clip can catch your viewer off-guard and get a laugh.
3. J Cut and L Cut
L cuts and J cuts can require slightly more effort and experience, but when used right, they make for effective storytelling techniques. In a J cut, a clip's audio starts before the video. In an L cut, a clip’s video starts rolling before the audio starts. They each get their name from the shapes they make in editing software.
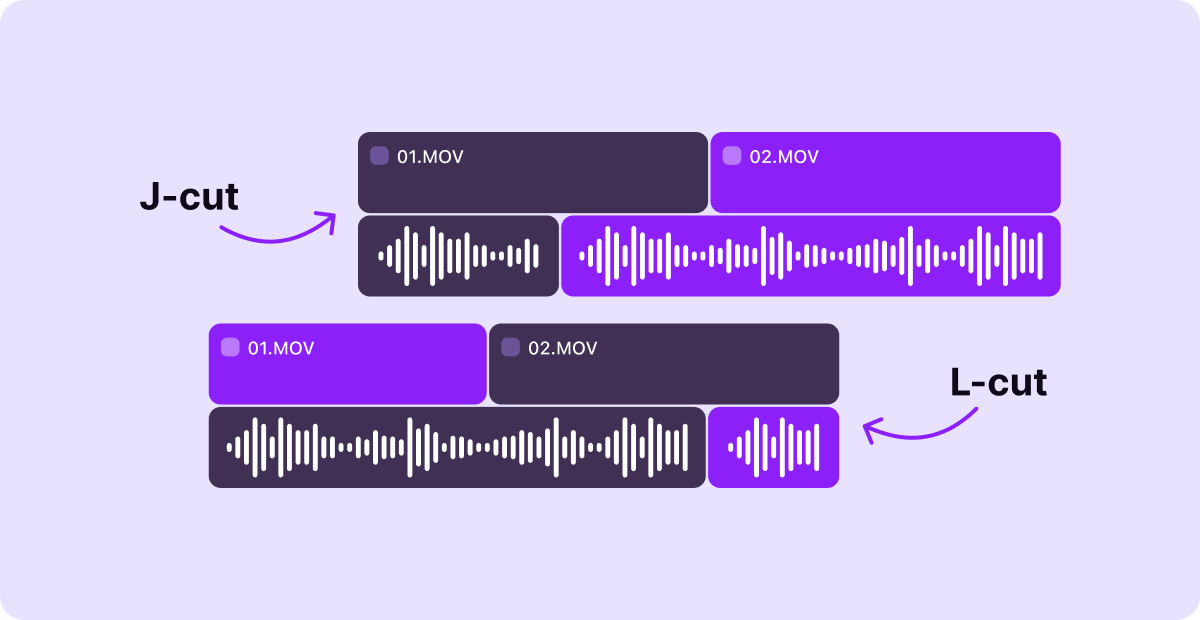
Each of these cuts can add more atmosphere and intrigue to a video, giving a viewer a taste of either the audio or video before starting the full clip. You might apply a J cut to underlay the sound of a busy street before showing a clip of a city, easing the viewer into the experience. You could use an L cut in a knitting tutorial, starting with some narration before transitioning to a clip of you performing the steps.
4. Cross-Cut
Cross-cutting jumps back and forth between two video clips that happen at the same time. Think of a phone conversation in a movie — the characters are in two different places, and the movie cross-cuts to show each one speaking. It helps the viewer see what’s happening, even if the action is in two different places.
You can use cross-cuts to create suspense, add contrast, or just help explain what’s going on. For example, if you want to show the chaos of parenting, you could repeatedly switch between one clip of a parent peacefully having a cup of coffee in the kitchen and cut to their kids making a mess in another room. The back-and-forth emphasizes the contrast between those two moods.
5. Match Cut
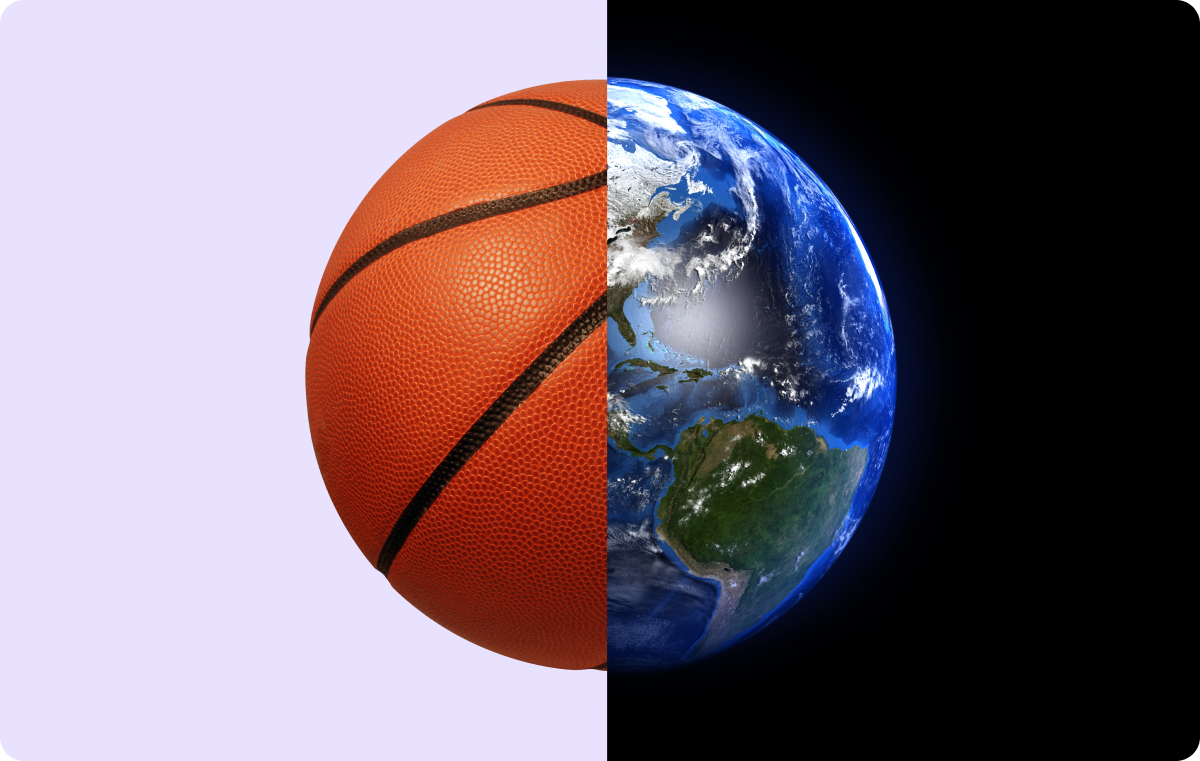
Match cuts connect two pieces of footage with a visual element they have in common. The goal is to match that visual element so that when the video cuts from one clip to another, it looks smooth. For example, the first clip might show you going down a mountain on a snowboard, and the second one could show you surfing an ocean wave on a surfboard. The link between these two clips is the board and the motion you’re making on it, which is similar in both pieces of footage.
If you were adding this cut in the editing process, you’d adjust both clips so the surfboard and snowboard were in the same place on the screen during the cut. This creates a seamless “jump” — in this example, from one board to another. It also generates a professional-looking effect that seems hard to create but only requires alignment and planning.
3 Video Editing Tips for Using Cuts
Learning how and when to use these types of cuts can help you master editing. Here are a few best practices to improve your editing skills for Instagram Reels, TikTok clips, and YouTube videos:
1. Limit Special Cuts
Video cuts should help tell your story, so make sure the types of cuts you use add to the message. Add special cuts — like fades, J and L cuts, and match cuts — when you know they’re there for a reason, like explaining an idea or setting a theme.
2. Use Only the Cuts You Need
Too many cuts can be hard on the eyes. Your video may look busy or jump around too quickly for an audience to follow, so only splice clips and use effects when necessary. There’s no need to split up a single recording of you making a goal in a soccer game. The content already flows, holds attention, and is short enough that you don’t need to remove anything.
3. Add Other Effects
Cuts are just one part of the editing process. If you want your video to look clean and professional, you can also add effects, like color grading, filters, and background music.
If you’re looking for an editing app that does it all, try Captions. The intuitive video editor lets you easily trim and combine clips, and Captions’ AI automatically removes audio noise, fixes your eye contact, and cuts away awkward pauses.
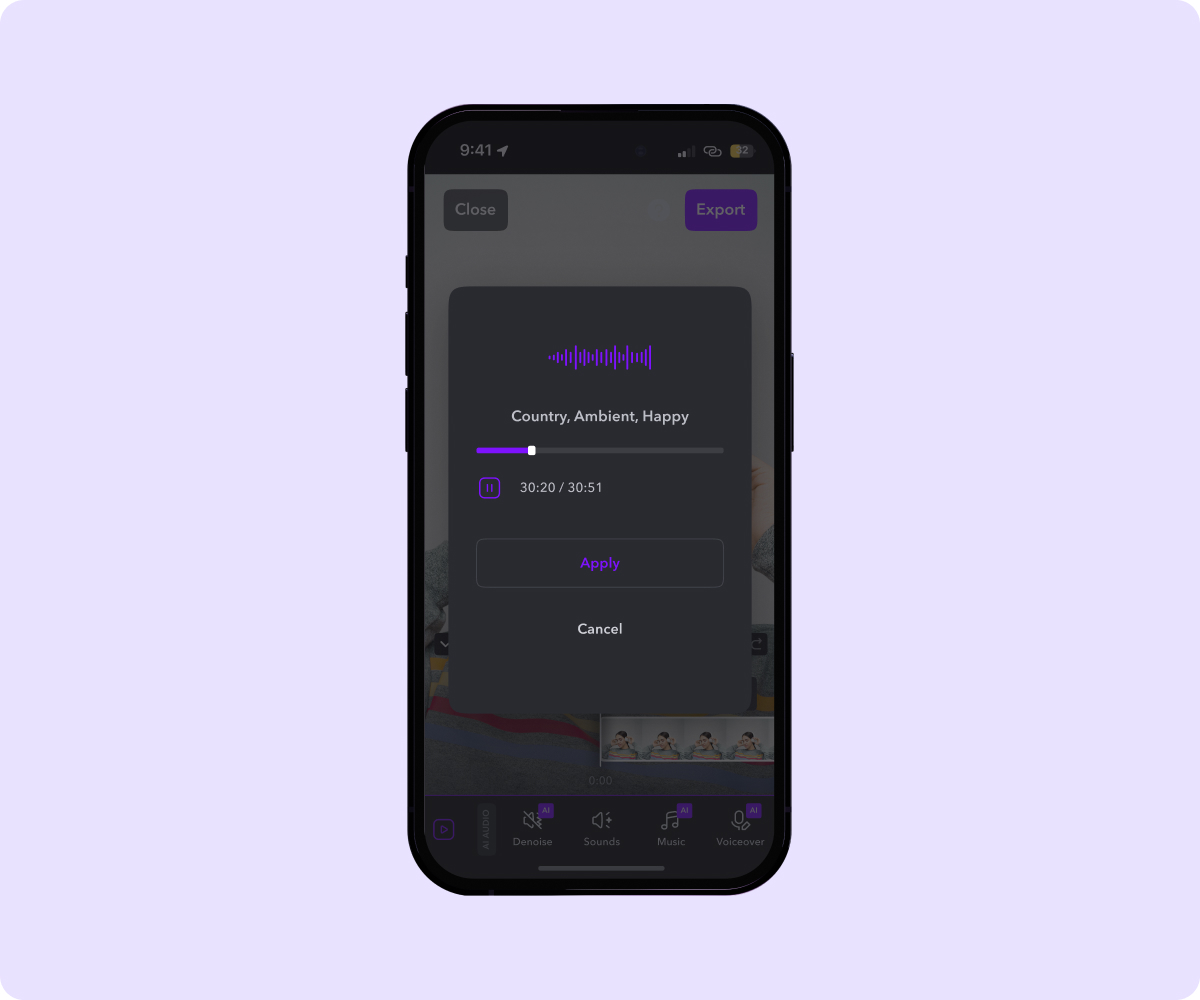
Make the Right Cuts With Captions
You don’t need professional editing software to cut videos together. You just need Captions’ user-friendly editing tools — no experience required.
It’s easy to edit in the Captions app, whether you want to trim away mistakes, drag and drop different clips, or add transitions like fades and swipes. Your videos will look more professional, and you’ll be able to do it 10x faster with the power of Captions AI.
By
March 27, 2024
-
6
Min Read
Stay in the loop
Subscribe to our newsletter and get all the news from Captions. No spam, we promise.
Oops! Something went wrong while submitting the form.
Professional videos made easy