Share
A video’s colors can tell their own story.
Adjusting the color palette of a clip can dramatically alter its mood and how the footage impacts a viewer’s emotions. Try this out with color grading to take your camera’s footage to the next level.
Whether you’re a newbie in the editing world or a seasoned filmmaker, there are plenty of color-grading tips and tricks to transform your videos and engage audiences.
What Is Color Grading Used For?
In visual media, color grading is the process of adjusting and enhancing images and footage to create consistent color tones.
You can apply color grading to photos or videos to improve imagery, create moods, and shape the viewer's perception of the stories you want to tell. When it comes to short-form content like TikTok, Instagram, and YouTube Shorts, color grading helps create consistent branding and brand awareness.
File type is an important factor in color grading. RAW is a large file type that holds a lot of information, and RAW videos and photos have data-rich color logs that you can easily manipulate and grade to create different color palettes. When RAW footage doesn't match your desired palette, you can use photo and video editing tools to color-grade content.
If you shoot photos or videos in compressed formats (smaller file size with less data), such as JPEG or MPEG, you’ll have far less data to work with, meaning you can’t manipulate the colors quite as well as uncompressed RAW files. Many smartphones lack RAW functionality, but some higher-end phones, like iPhone 13 Pros and newer, offer this feature.
Color Correction Versus Color Grading
If you use color grading to manipulate a video’s colors, then what is color correction?
Color correction turns RAW clips into “true-to-life” form, restoring images to more natural and lifelike colors than the recording captured.
When color correcting, you'll address the video’s exposure, saturation, and contrast to ensure the colors are accurate without being harshly lit and overcolored (overblown) or too muted and dull (washed out).
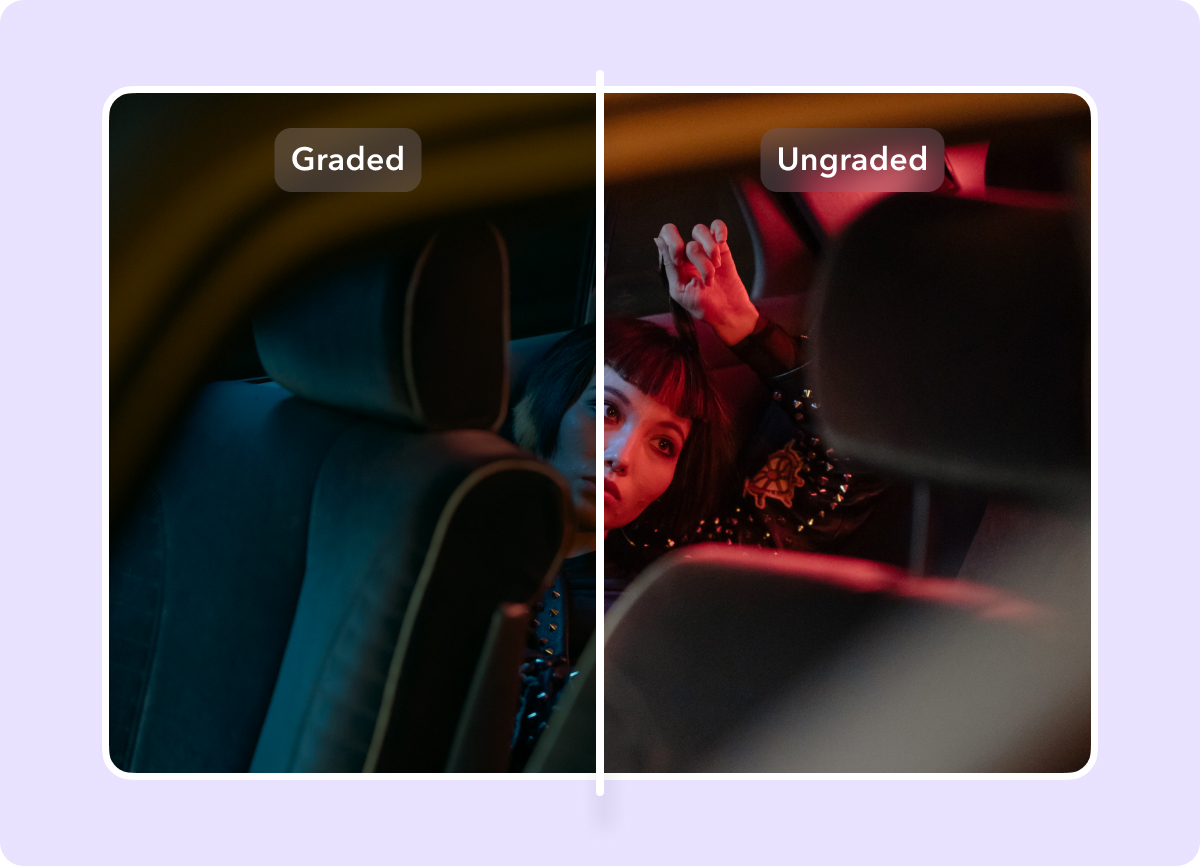
While color correction aims to set RAW colors to a more natural and consistent appearance, color grading lets you intentionally move away from those natural tones to create a unique visual look for your content.
After you color-correct your RAW footage, you can begin color grading, which is more subjective than color correcting and lets you add a specific mood or tone to your content. Instead of just adjusting contrast, for example, you may add a warmer color palette for a scene set in a desert and increase the highlights to reinforce how hot and bright the setting is.
How To Color Grade
Color grading can take time to learn, especially if you're new to editing and color theory. Following these steps and learning the key technical terms can help you work your way through the color grading process:
1. Color Correct Your Footage
Before you jump into color grading, perform a color correction to establish a good color foundation. To do this, you’ll need to adjust the following parameters:
- Curves — Curves provide a visual reference for highlights, midtones, and shadows, letting you control and adjust how dark or light your video looks. Use the curves adjustment tool in your preferred editing software to fine-tune your videos' overall contrast and color balance.
- White balance — White balance is the process of adjusting colors to ensure white objects appear absolutely white, without unwanted tints and blemishes. True whites provide a reference point for further grading by ensuring the colors in your footage look realistic and accurate under different lighting conditions, like daylight or studio lights.
- Brightness and contrast — Brightness refers to the amount of light in an image, while contrast is the range of brightness or the difference between dark and light colors. Higher-contrast scenes typically look more dramatic, while low-contrast shots have muted colors.
- Highlights and shadows — These sliders let you adjust the intensity of highlights and shadows separately to enhance details in bright and dark areas of the same shot. This way, you can improve the ratio between the image's lightest and darkest parts, balancing its dynamic range.
2. Color Match Your Shots
During this step, filmmakers and colorists typically use a lookup table (LUT) to identify a color palette from a certain shot. Sticking to a set palette across the whole project establishes consistency across different shots by matching clip colors. This ensures similar elements in each scene, like clothing and backgrounds, maintain a consistent color appearance throughout.
Most video editing tools have built-in presets and LUTs that you can apply to multiple shots with a single click, but you can also create your own and save them for future projects. Tools like Captions also let you create fresh color palettes or copy existing color grades with a text prompt.
However, even LUTs rarely provide an instantly desirable result, so check each shot to make necessary tweaks before moving to the next.
3. Match Skin Tones for Your Characters
Human eyes are really good at spotting lighting and shadowing inconsistencies in characters’ skin tones, especially those nearest to the screen. In your adjustments, make sure skin tones in the scene’s foreground as well as characters in the background appear accurate and lifelike.
4. Identify the Setting and Mood
After basic color correction, refer to your color palette to turn neutral and balanced colors into artistic and unique grades. Adjust colors to change a scene’s atmosphere, evoke specific emotions, or emphasize a particular narrative, whether that’s a warm, rustic tone for a calm aura or a cool, desaturated look for a gloomy setting.
5. Review and Adjust Your Color Grade
Review each shot after the initial color grade and make final adjustments to achieve consistent colors throughout your video. As you stitch clips together, you’ll want to ensure there are no deviations between shots (unless the deviations are intentional). Use your color palette as a guide, fine-tune LUTs, and color-match scenes to capture the intended tone and atmosphere.
However, it’s important not to go overboard with color editing — grading enhances cinematographers' work but won't compensate for poor shots.
Color Grading Tips
Following a systematic process for video color grading can streamline your work, but here are a few tips to make things a little easier:
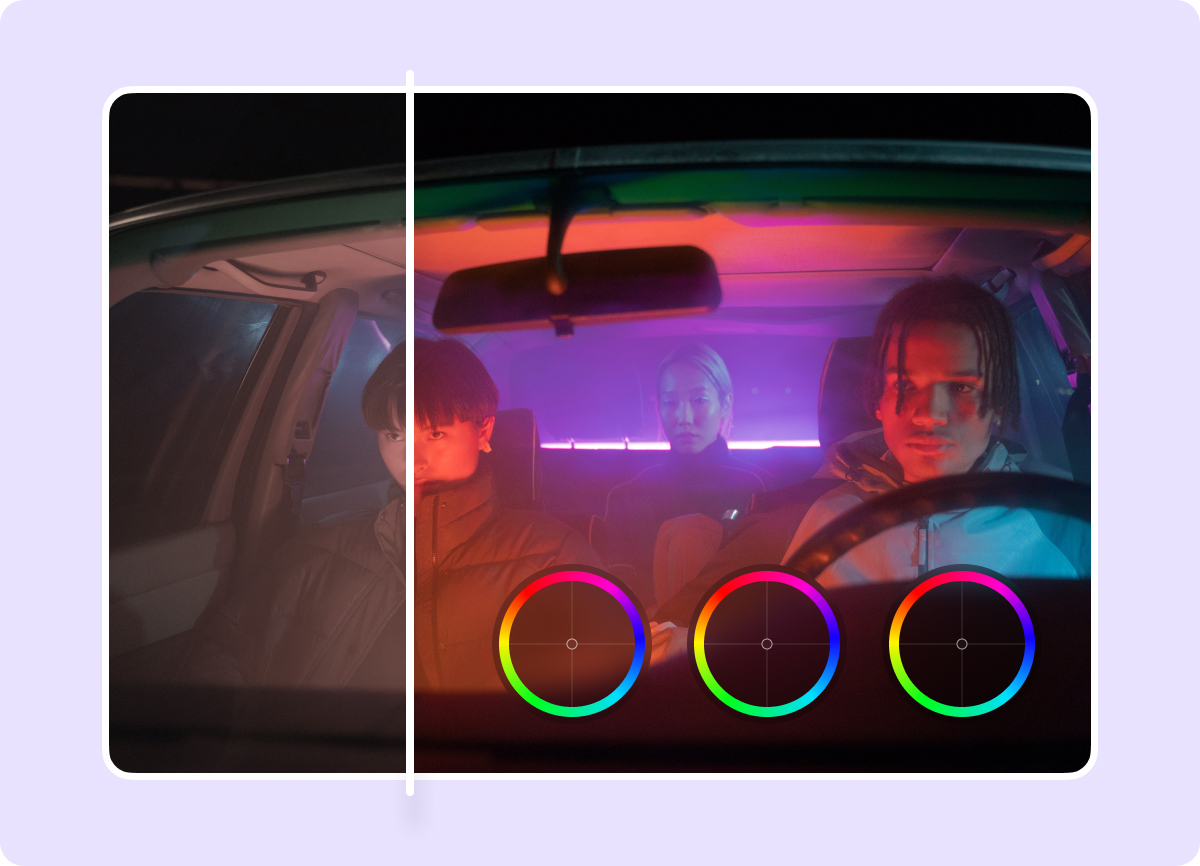
- Use color wheels and curves — Color wheels and curves are powerful, all-in-one tools you’ll find in video editing software that let you precisely adjust the color balance of shadows, midtones, and highlights. This degree of control provides subtle yet targeted adjustments that you may not get with regular sliders.
- Experiment with LUTs — Test and tweak pre-designed LUTs and find a few that work for your visual style. LUTs can save time and provide a quick starting point for further grading. Plus, you can create your own and use them for similar shots or projects in the future.
- Get multiple perspectives — Preview color-graded videos on different devices to ensure consistency across multiple displays. If possible, use a color-accurate monitor for editing. These reproduce the most accurate, natural colors, which can help you avoid extra time spent adjusting during post-production.
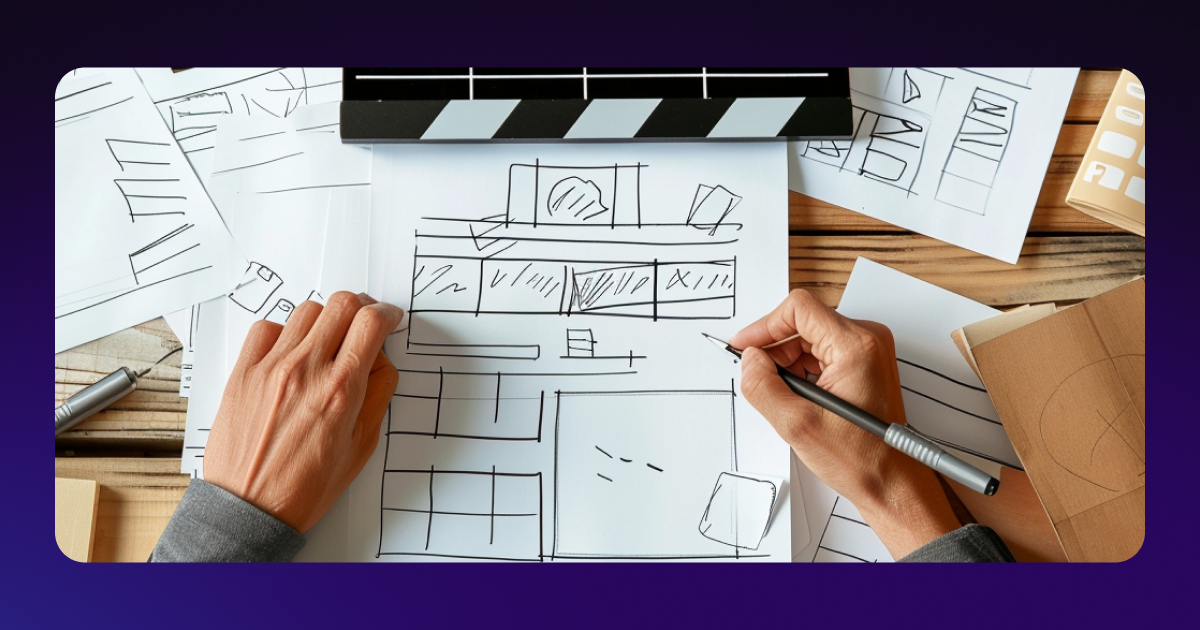
- Plan ahead — Pick your color palettes and plan your edits ahead of shooting. Having your vision established before you roll cameras can help reduce the time you spend editing.
Color Grading FAQs
Here are a few frequently asked questions related to color grading:
Do You Color Grade Before or After Editing?
Color grading is the last step in post-production after editing. Editing focuses on organizing, cutting, and arranging footage sequentially to form a logical narrative, while color grading adds a consistent visual style to the story.
What Are Some Color Grading Examples?
For some of the best examples in color grading, look to films like Mad Max, The Cabin in the Woods, and La La Land.
In Mad Max, saturated earth tones illuminate the action in day scenes, and steely blue tones pack a punch in scenes set at night. For horror flicks like The Cabin in the Woods, the use of desaturated colors and amplified shadows invoke a deeply suspenseful tone. As for La La Land, happier scenes are enhanced with a warmth to amp up the connection between the two starring characters, but as the story takes a bittersweet turn, so do the colors. Cooler tones take over the screen as the main characters’ connection begins to crack.
Generate a Colorful Story With Captions
With thousands of color palettes and LUTs out there, finding the perfect one for your next video can be challenging and time-consuming. Captions saves you that time with its built-in color scheme generator. Just enter a text prompt, and the app will produce relevant color palettes to choose from.
With Captions, you get an all-in-one editing powerhouse that supports multiple video formats, enables on-screen subtitles, and compresses your content to create professional-level stories.
By
January 3, 2024
-
7
Min Read
Stay in the loop
Subscribe to our newsletter and get all the news from Captions. No spam, we promise.
Oops! Something went wrong while submitting the form.
Professional videos made easy